

Ultra Community, Community WordPress plugin: do you want to know how to create a group inside the community?
In this article, we are going over how to create a group.

Find Us on Pinterest!
Read also: ULTRA COMMUNITY | COMMUNITY PLUGIN FOR WORDPRESS
HOW TO CREATE A GROUP
In order to create a group inside the community, you have to go to your own profile and select the option to create a Group.
This an example of a Members Page:
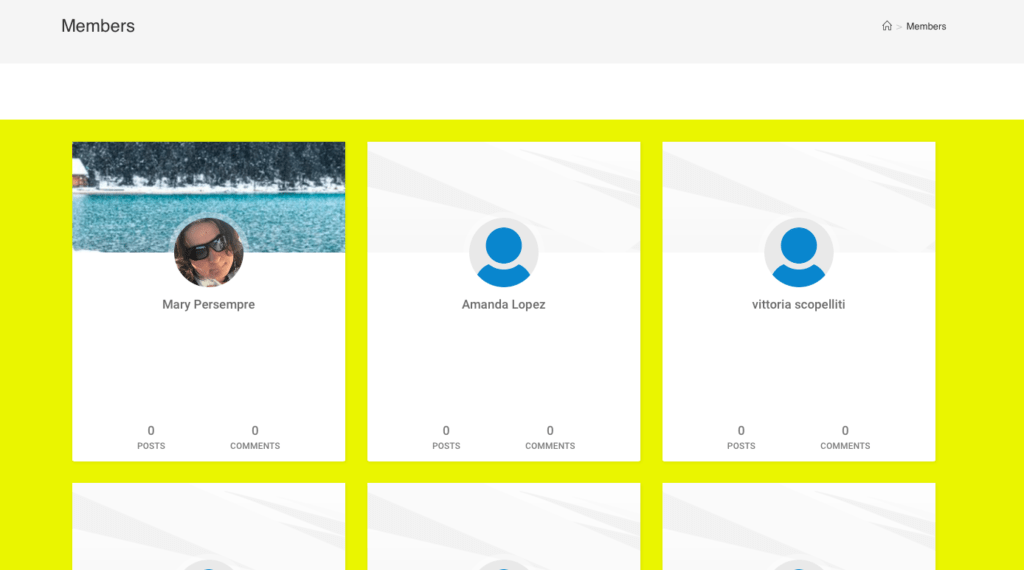
Let’s select your own Profile, for the purpose of this example we will select the first one.
Once inside the User Profile Page, you are going to see a bar with several options under the cover picture
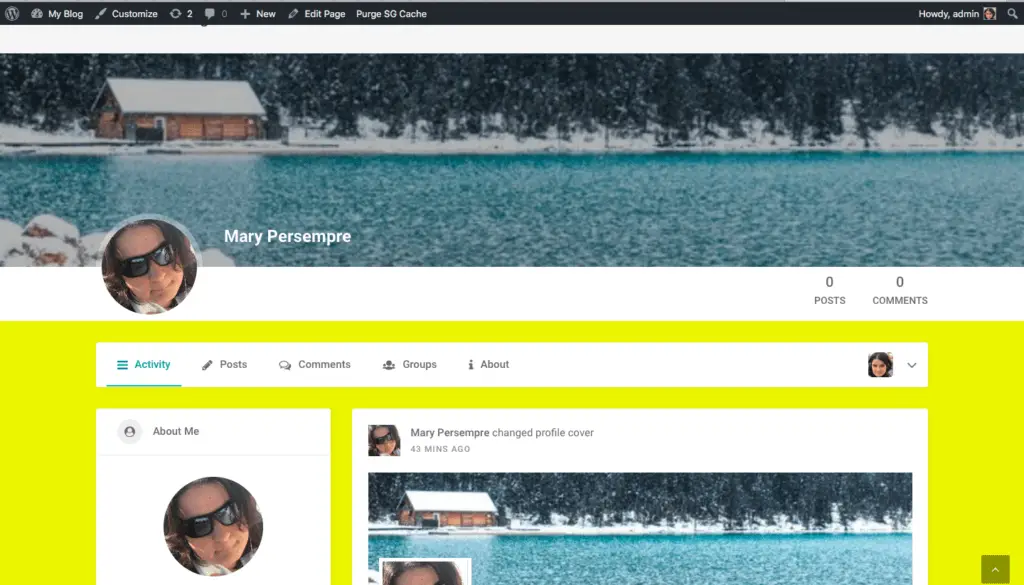
At the very right, next to the small photo icon there is an arrow:

Click on the arrow:
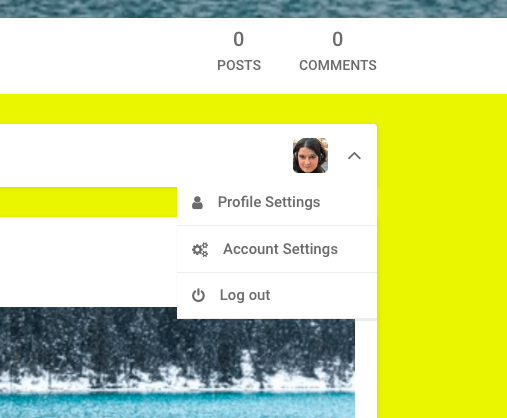
Select Profile settings

Here you can add all the informations needed to for your profile, like where are you from, About Me informations to let others know who you are and so on. On the bottom left, you have the Group Settings and as well the option to create a new group:
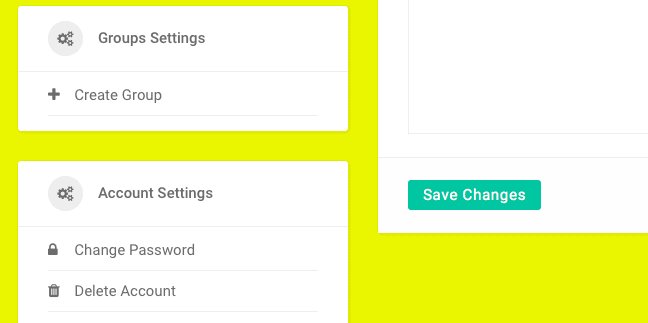
Select on Create New Group.
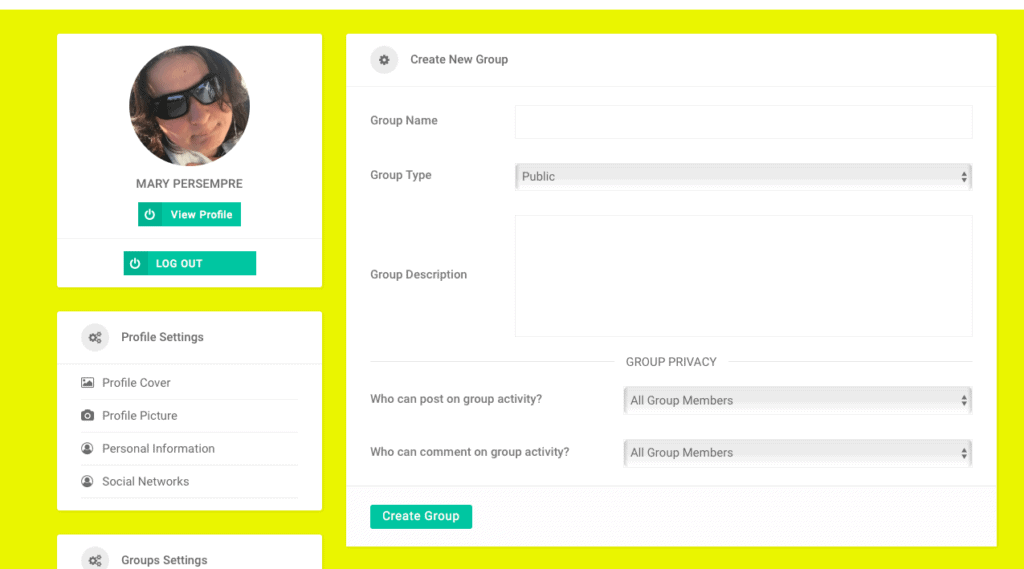
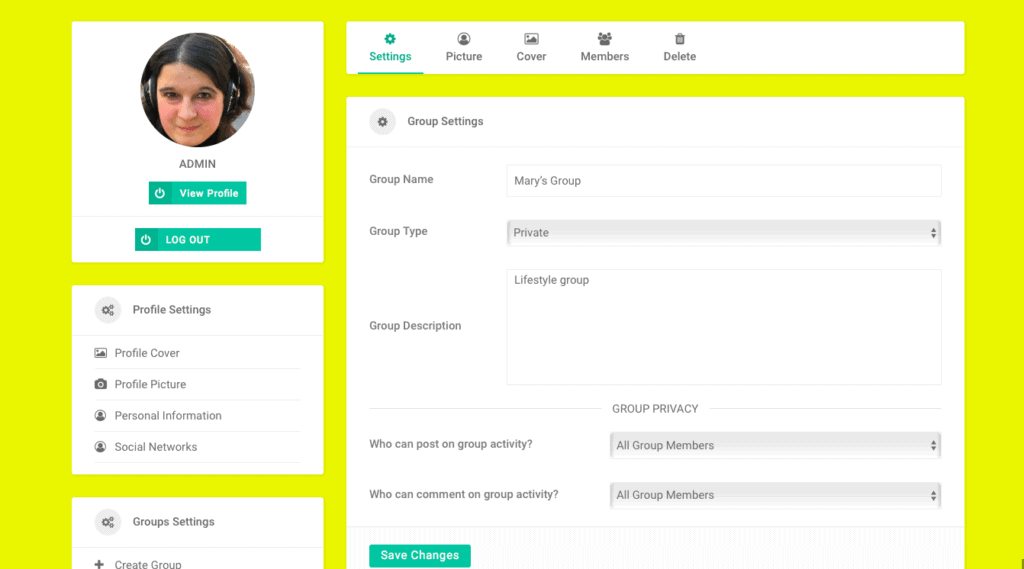
At this point, you are directed to a new page where you can edit the Group Settings like:
- Group Name
- Group Type (Public, Private or Secret)\
- Group Description
- Who can post on the Group (Administrator or everyone)
- Who can comment on the Group ( Administrator or everyone
Once all field are filled click on create group at the end of the page
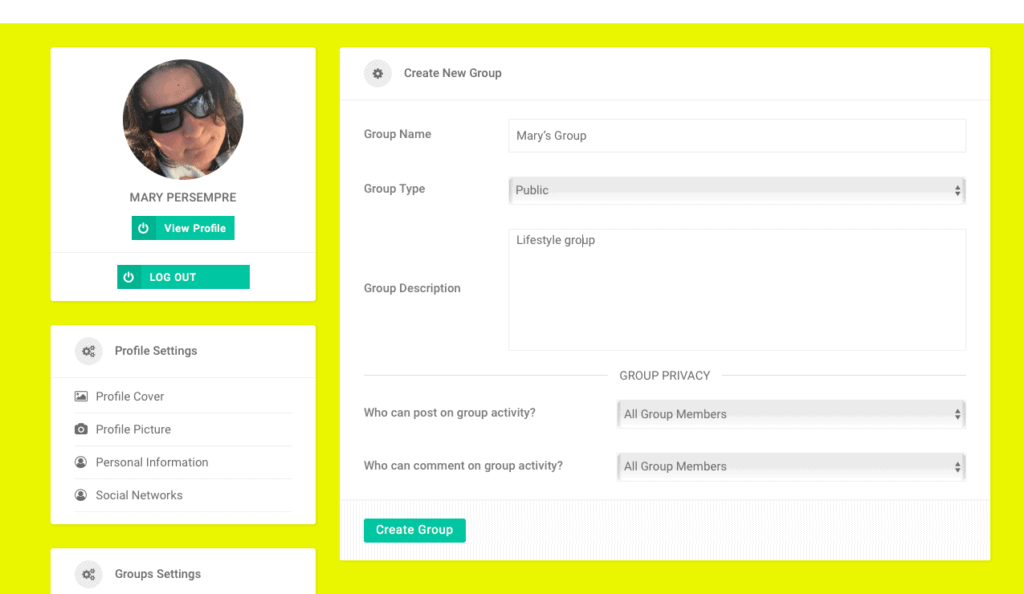
Once this is done and clicked on Create Group, you will see the following page:
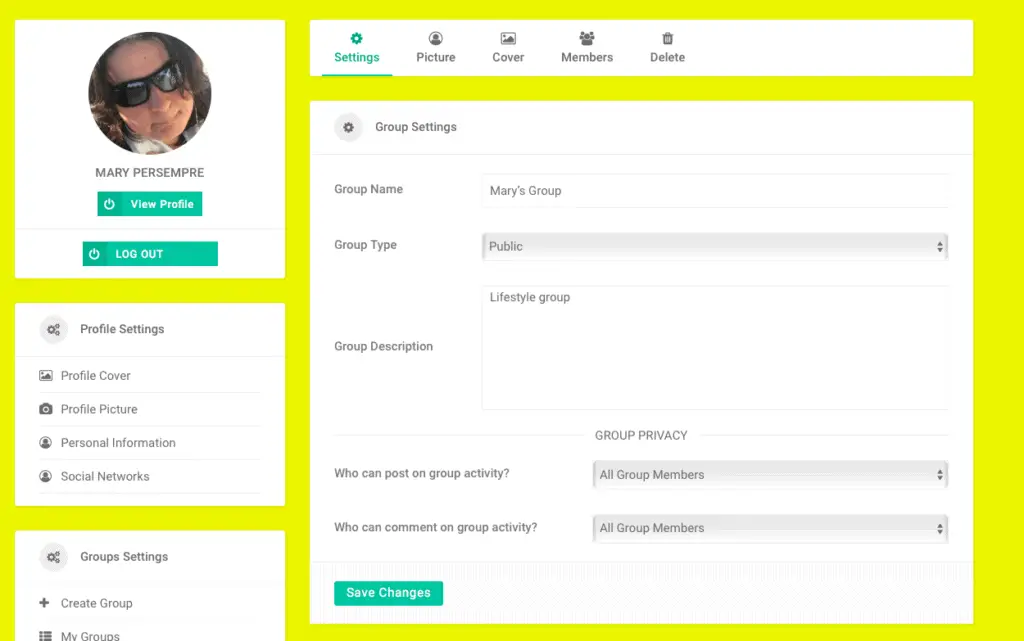
At the top, you can see a Menu bar where you can edit different aspects of the Group.
You can add the Group Picture, the Group cover, see the members and Delete the Group if necessary.
HOW TO JOIN GROUPS
In the Group Page directory, you can see all the groups that have been created, at this point select the one you want to join and clock on Join Group:
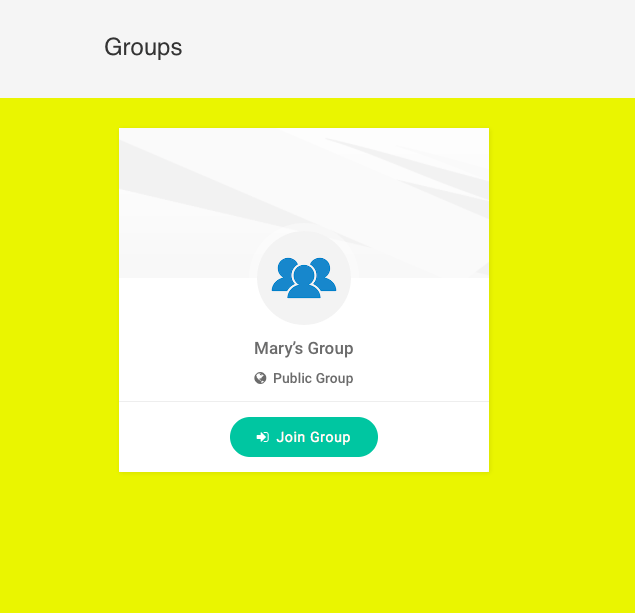
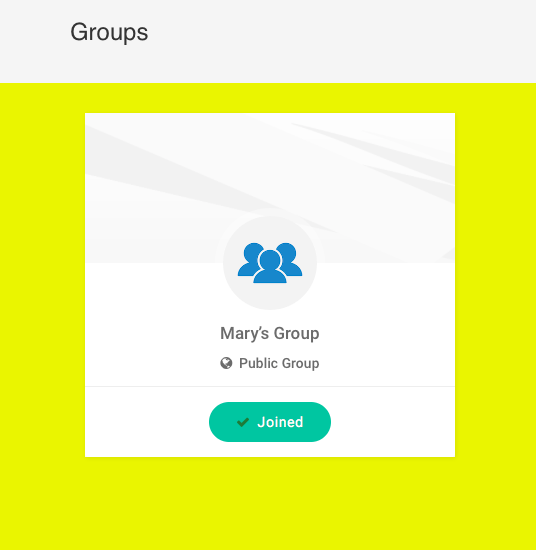
This is the Group we just created and you can see the green icon “Join Now”.
Once you do that you will be asked to sign-in:
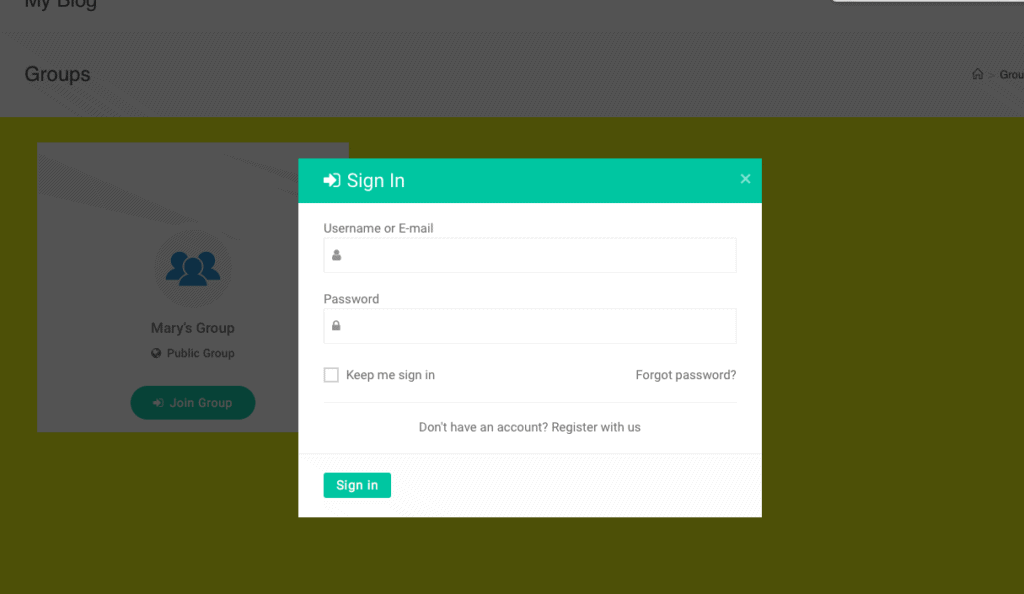
Once I signed in, since that was a public group I am automatically joined.
What happens if we make the group private?
Let’s set up this group to be private and let’s join again:
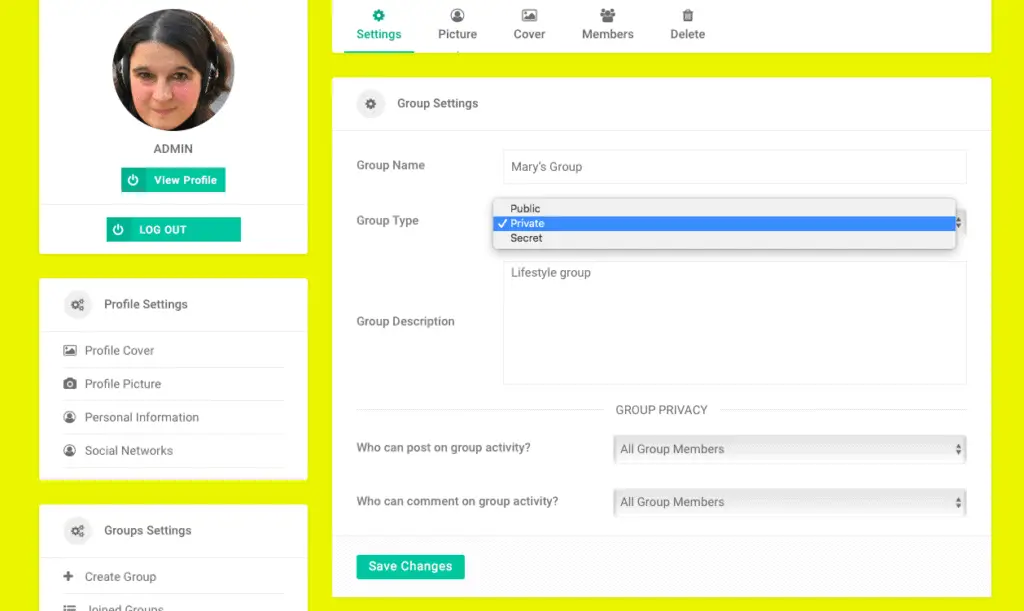
To make it private go back to your Group and click on settings, then select Private next to Group type.
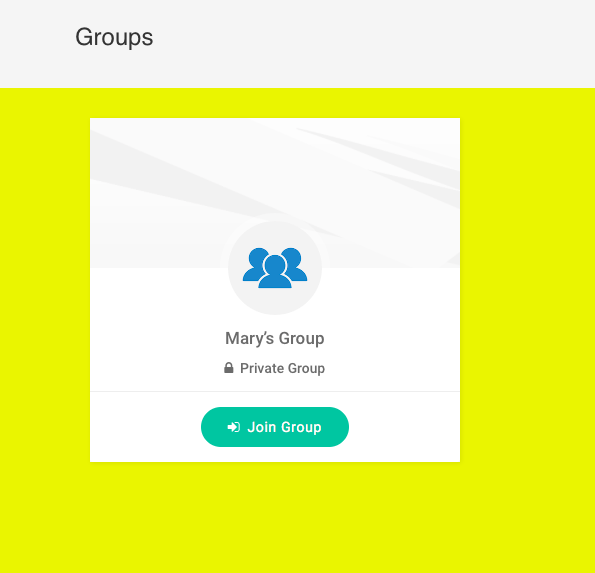
The group shows as private now, let’s join it now.
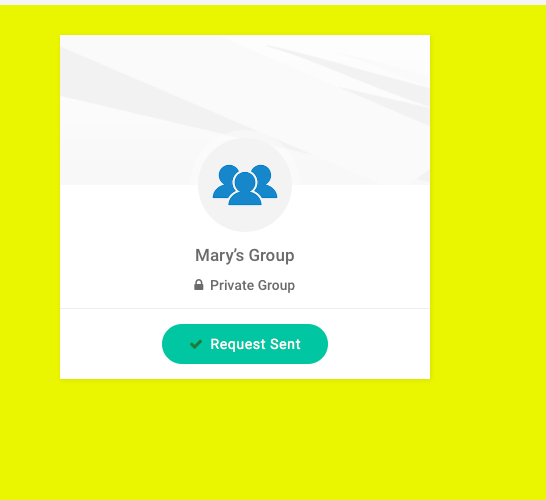
Now once you clicked on Join now and then logged in, you will see the following sentence: Request Sent.
To approve the request, you have to go to your group profile and you will see that there is an icon to the top right: Manage Group:

Click on Manage Group and you will be directed again to the group settings:
Click on Members
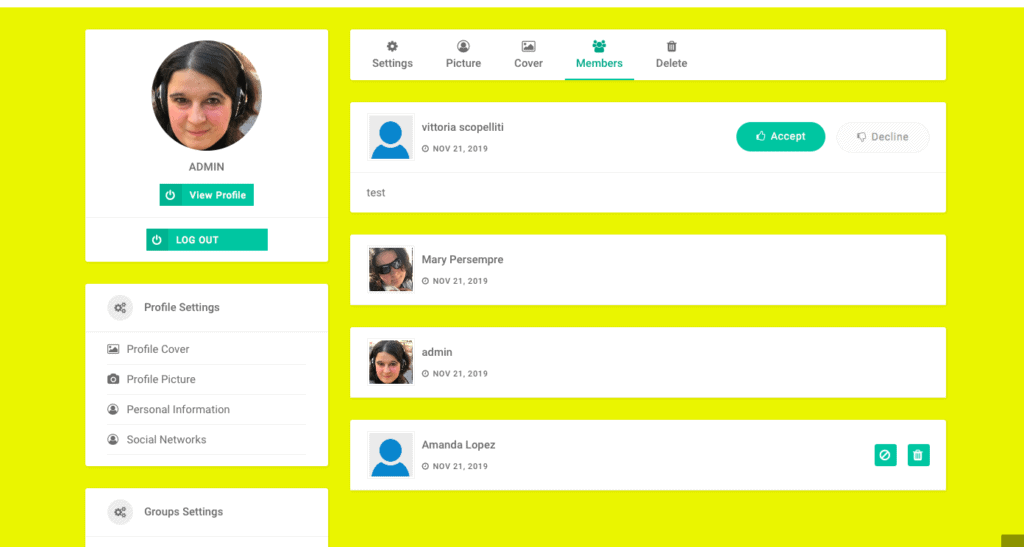
At the top of the list, you can see the request to join. You can accept or decline the request.
If you have any question leave it in the comments below or contact me on the Contact Me Page.