

WordPress Announcement and Notification Bar: Would you like to create a significant effect and keep your customers informed at the same time?
Then you have to try creating a WordPress Announcement and Notification bar.
WHAT IS A WORDPRESS ANNOUNCEMENT AND NOTIFICATION BAR?
A WordPress Announcement and Notification Bar is similar to a banner but much smaller. It usually goes at the top of every page and thus very much visible.
For example if you have a message, offer, deal or anything else you want you visitors to always see you can add such a bar to your website.
This can be done for WordPress, WooCommerce and Shopify.
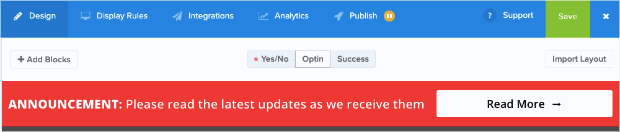
Here is an example of a notification bar:
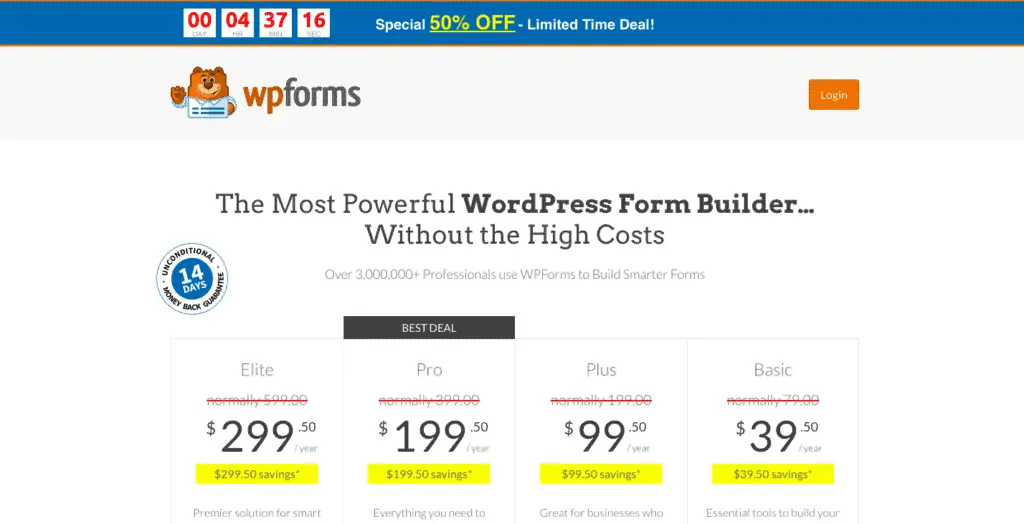
In this photo, you can see an example of a WordPress announcement and notification bar right a the top, promoting a 50% off. Such a bar can be used not only in WordPress but also to push messages, coupons, and discounts in Shopify and WooCommerce.
The advantage of adding a bar can be many, but most of all is the fact that every visitor is going to see the message since it is displayed as the first thing on top of the page.
In this way, you can give prominence to a specific message and have everyone see it. It can help to drive traffic to a making money pag;
e and other pages you want to drive traffic to.
Additional reasons to add a notification bar:
- Sharing a new promotional offer
- Creating urgency with a countdown timer
- Growing your email list
- Notifying your site’s visitors about significant changes
- Providing emergency or time-sensitive alert messages
- Updating your company’s services
Some people prefer also to add such a bar at the bottom of their sites.
HOW TO SET UP A WORDPRESS ANNOUNCEMENT AND NOTIFICATION BAR
There are several ways to set up such a bar; the easiest method is to use plugins that allow you to add it and customize it. However, not all the plugins can give you the possibility to customize the bar in the way you may need, or in a way to boost conversion.
The best way is to use OptinMonster.
OptinMonster is a plugin that allows you to set up pop-ups and notification bars. 1,000,000+ websites are using OptinMonster to turn their traffic into subscribers, leads, and sales.
DOWNLOAD AND ACTIVATE OPTINMONSTER
To use OptinMonster floating bar feature ( which is the WordPress announcement and notification bar), you have to get at least the Plus Plan.
Once that is done you can proceed with the activation and set up of your bar.
LOGIN INTO YOUR OPTINMONSTER ACCOUNT
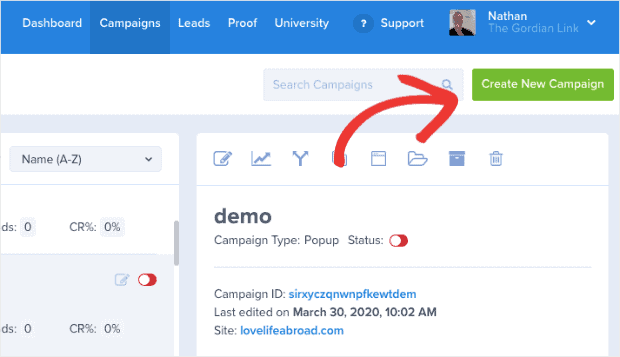
Once you have your OptinMonster account, downloaded the plugin, and connected to your site you have to login into your account:

Then, in the top right-hand side of your dashboard, click Create New Campaign:
Select Floating Bar:
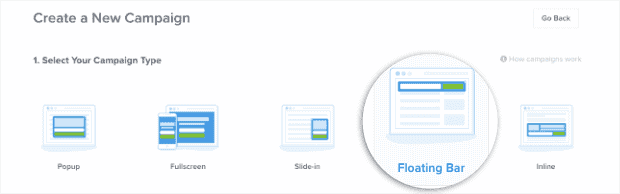
And then you’ll need to choose your template:
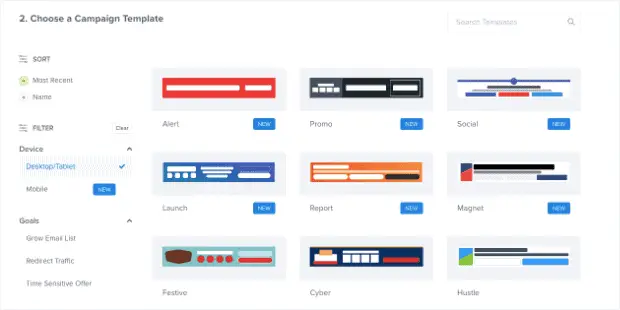
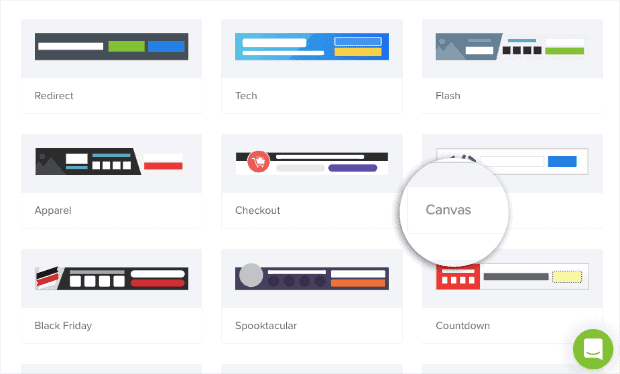
If you don’t see a template that you like, you can simply build your website notification bar from scratch and with the blank template, Canvas:
Let’s choose one template:

Now, your website notification bar template is in your OptinMonster editor:
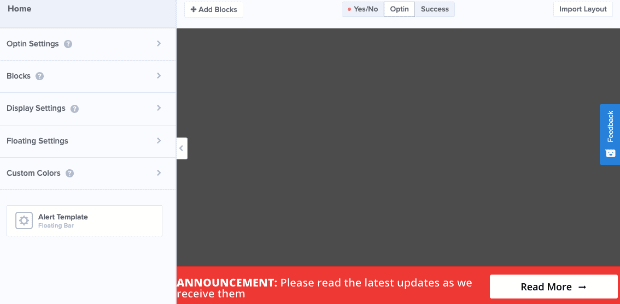
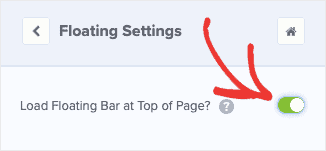
You can change the position of the floating bar by clicking Floating Settings on the left-hand side editor:
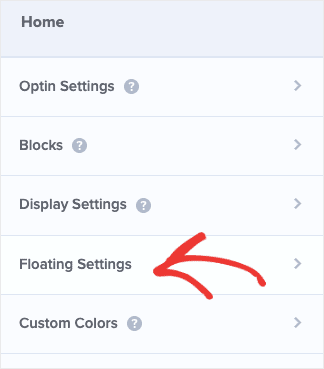
Then click the toggle switch to change the position of the Floating Bar:
Now your Floating Bar campaign will be on the top of your editor:
Now you can modify the text as needed.
Just click the text that you want to modify, and you’ll be able to change the text in the left-hand side menu:
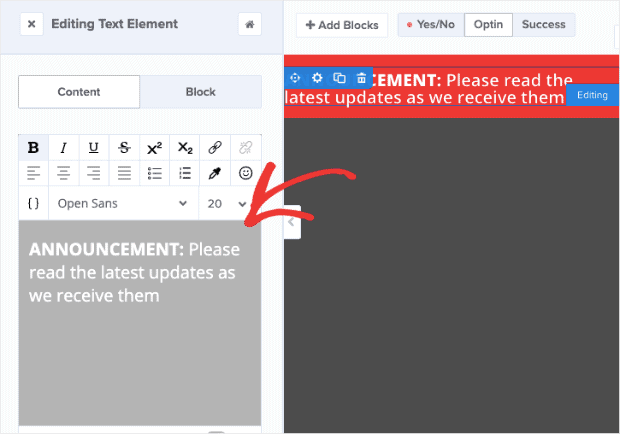
The headline text needs to get the attention of the visitors, so they are directed to the page you want them to go.
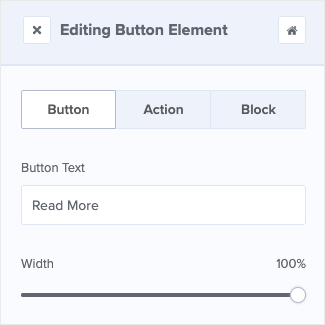
With OptinMonster, you can customize the bar and the button as needed. You need to click the button element in the editor. Then you can modify every part of your button in the left-hand side menu, like the text:

Furthermore, you can change things like Width, Alignment, Color, Icon, Icon spacing, Text decoration Border, and more.
Here are the button elements you can change; one of these is the color. Depending on the message, brand color, and other factors, you may want to set a different color.
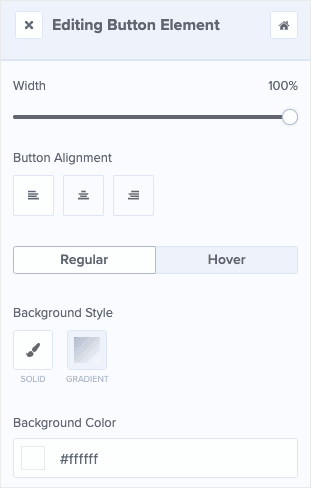
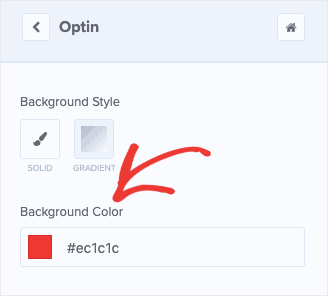
you can change the background color by simply clicking on the background in your editor:
You can also change the call to action and associate a link to direct the visitors, once they click on it.
Click on the Action tab in the left-hand side editor menu:
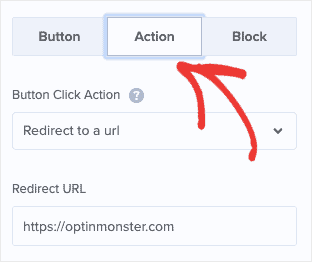
Add or change the URL:

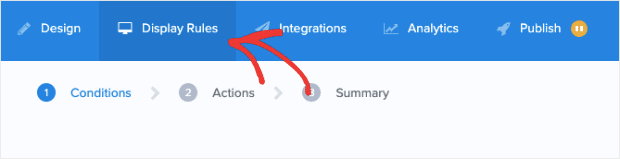
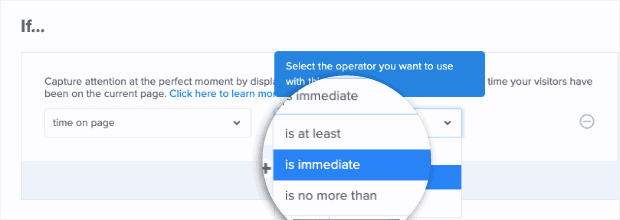
Now you have to set the display rules, those rules set when and how to display the floating bar.
Head over to the Display Settings at the top of your editor menu:
By default, your campaign will appear to visitors who are on your page for 5 seconds or longer. You can keep it as such, or you can change the “Is at least” setting to “Is immediate”:
Find More in:
HOW TO SET UP OPTINMONSTER EXIT INTENT OPTIN FORM | ILLUSTRATED GUIDE
CONCLUSION
Sometimes it is better to use a floating bar instead of pop-ups; those may be annoying to some visitors; a floating bar instead may reach the same purpose but with fewer distractions.
OptinMonster gives the possibility to customize the floating bar fully, make it look part of the Website, and attack more visitors. You may find some free plugins around that let you create a bar, however often, you can’t change settings, and you are forced to use what is already there.
Professionalism is part of getting trust and conversions.
You may read also: